Categories

Showing posts with label Making Beads. Show all posts

Sunday, October 25, 2015

Make a Stroppel Round Natasha Bead - Fulgorine

How to Make a Stroppel Round Natasha Bead


Ok, so my previous post about how to make a Stroppel cane Natasha bead confused even me, so I will try again – this time with pictures. If you don’t know how to make a Stroppel cane, have a look at this free tutorial.
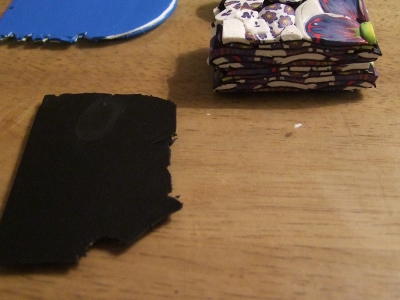
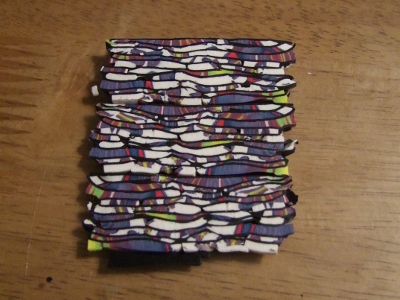
                                                                                                      First make your Stroppel cane. Then make another but this time using slices of Stroppel cane.


Make a layer of Stroppel cane slices going in one direction
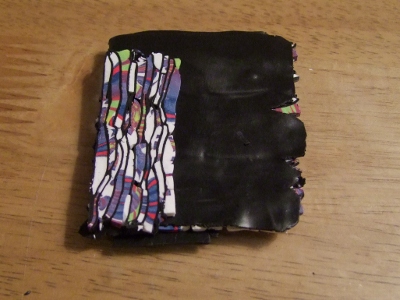

Add another layer of black and then place your slices at 90 degrees to the first layer.
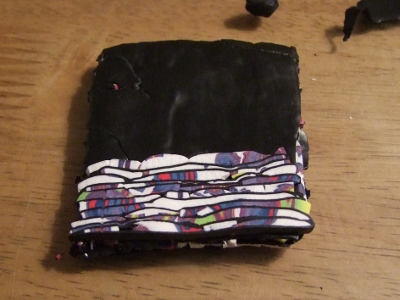

Another layer of black, and more slices going in the other direction.
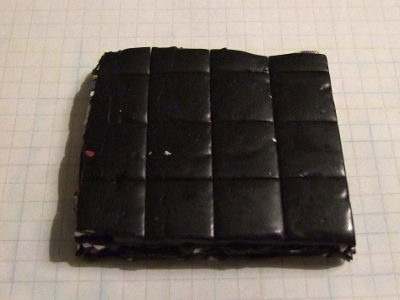

Repeat until you have a block to the thickness you want. Trim the edges and cut into cubes.
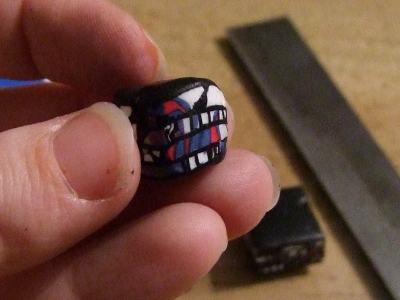
 
 
I like to offset my designs so there is a diagonal element to the finished pattern. Squish your cube roundish.
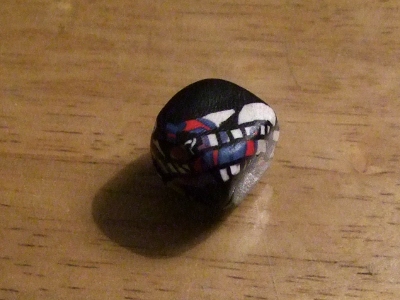

Squish back into a cube at an offset angle.
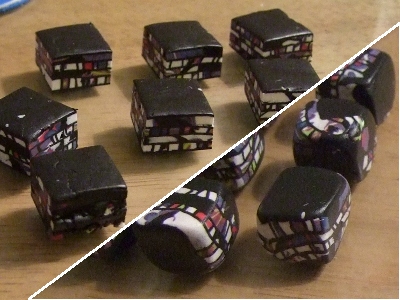

Cubes with offset squish ready for Natasha-ing
(See my post about how to make a round Natasha bead.)
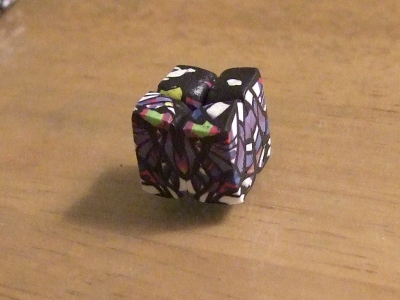
Natasha cube

Natasha bead cube

Natasha bead round

Natasha bead round
Finish your bead as normal. Enjoy!

Sunday, August 18, 2013

5 Color Beads - Silas Stone


SilasStone.com

STEP #1 Roll balls of clay in different color. I use Gold will be use for accent color only because it is so soft.

Step #2 With pasta machine, roll a sheet of Black, cut it in half. Roll a sheet of White, then put it between 2 sheets of Black, press down lightly. Cut thin slides from the stack, wrap the ribbon around the beads.

Step #3 Cut some of the Black&White ribbon into small pieces, stick them on the beads, in pattern or randomly. Roll each ball lightly to press the ribbon or small pieces down.

STEP #4 Make a small snake of clay, cut into tiny little pieces, roll them into small little balls and flatten them with your fingernail. Stick that flat circle on to the ball. Like so.

STEP #5 See how many different way you can use those Black & White ribbons, and the tiny polka dots.

STEP #6 Add more details with tiny dots and tiny snake of Gold or contrast color. For example, put white dot on black dot. Like so.

I press the beads down lightly in the picture.

Here are one of the finished bracelet. I strung the beads on the stretchy cord with a copper spacer beads.


I wonder how many different beads I can make for just using 5 color clay. What do you think? Up to the challenge, anyone?


Pandora Beads from Polymer - 01Doha


http://www.youtube.com/watch?v=gv1wpfrr_qw

Where to get Bead Cores:
 "Over the Rainbow":    http://www.polymerclay.com.au/advance...
but you can get them on ebay also:    http://www.ebay.com.au/sch/Jewellery-